...
Set Up Jira Cloud API Access:
Determine your Jira Cloud REST API Base URL. It typically follows the format
https://[YourInstance].atlassian.net.Create an API token from your Atlassian account. Follow Atlassian's guide for creating an API token.
Combine your email and API token in the format
email:tokenand encode it in Base64 . This will be used for basic authentication.
Identify the Custom Field:
Find the name of the MLCS custom field in your Jira Server instance that you wish to migrate.
Obtain the ID of the corresponding custom field in your Jira Cloud instance.
Update the Script:
Replace
jiraCloudApiBaseUrlwith your Jira Cloud instance's base URL.Update
encodedAuthStringwith your Base64-encoded your email and API token.Update
customFieldNamewith the name of your MLCS custom field in the Jira Server instance.Replace
cloudCustomFieldIdwith the ID of the corresponding custom field in your Jira Cloud instance.
...
Run the Script:
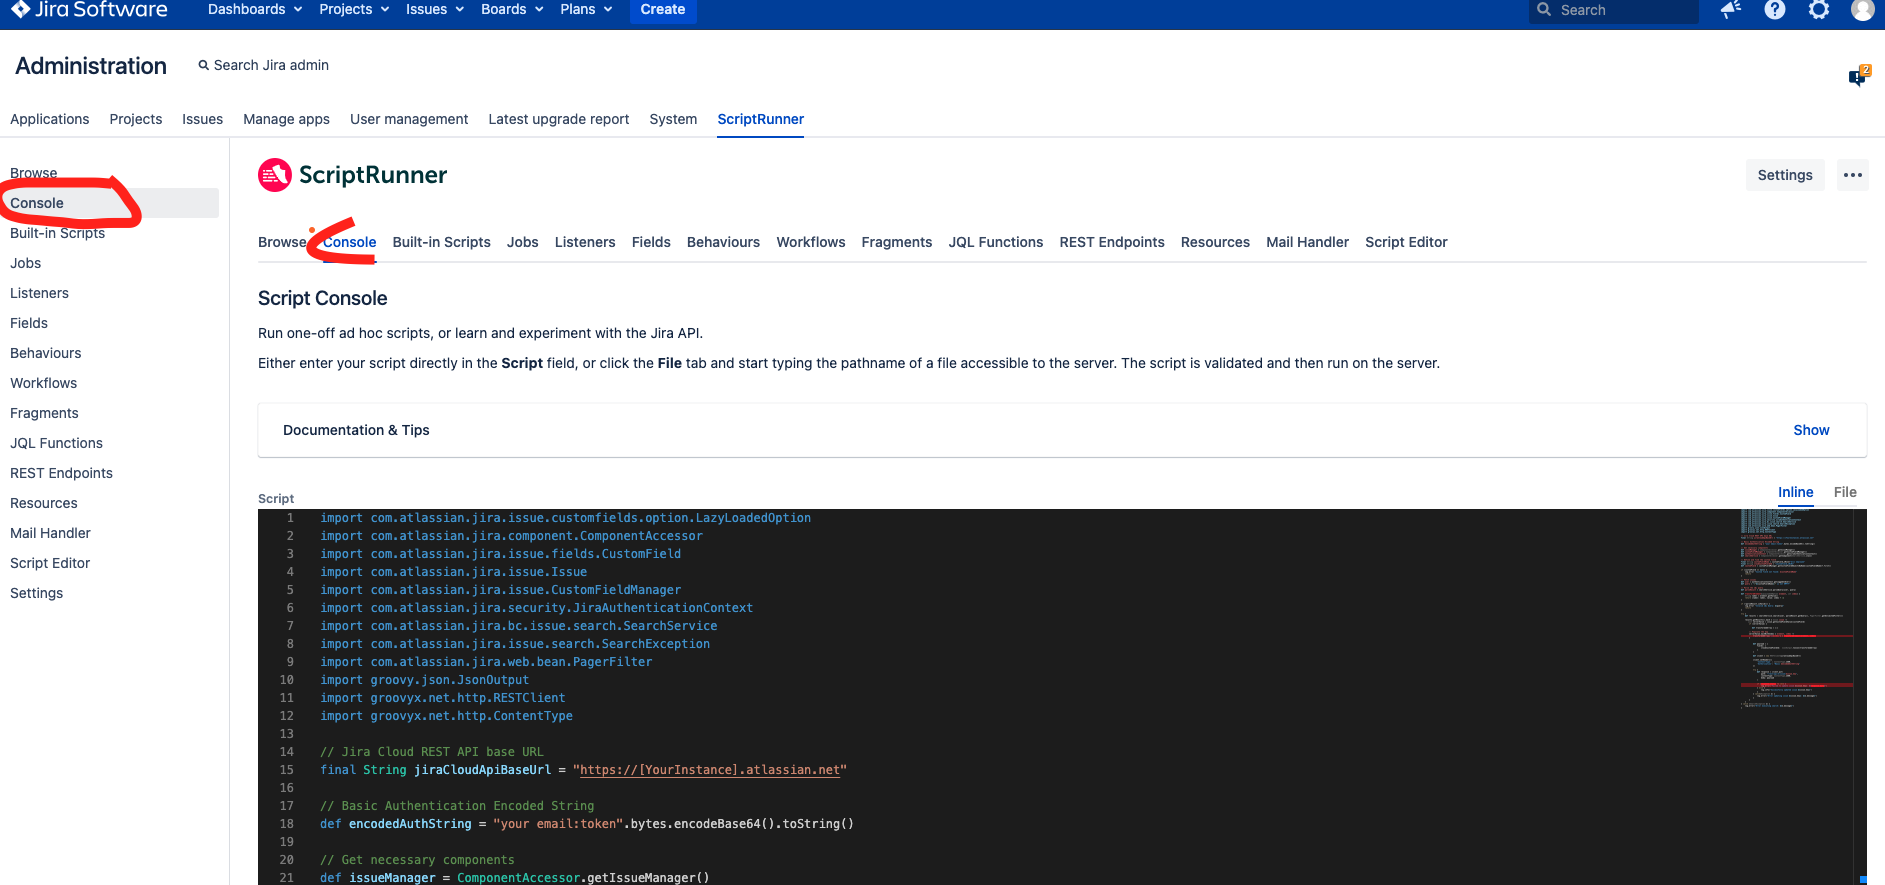
Open the ScriptRunner Console in your Jira Server instance.
Paste the updated script into the console.
Execute the script.
Troubleshooting
If issues fail to update, check the log for error messages.
...
Ensure that all instance URLs, field names, and IDs are correct.
...
Verify that your API token has appropriate permissions. Also, be aware of the following HTTP status codes and their implications:
400 Bad Request
- This error occurs if the user lacks the necessary permissions to edit the issue or to view it, or if the mlcs field is not found in the cloud or not associated with the issue's edit screen.
401 Unauthorized
- This status is returned if the token or the email is not valid.
403 Forbidden
- This can happen if the user does not have the necessary permissions to edit the issue or to view it.
404 Not Found
- Returned if the issue is not found or the user does not have permission to view it.